Low-Poly 3D visual style
Late-90s 3D, geometric beauty. Study this look for your storyboard frames before planning motion and editing.
Storyboard opens a new project. This preset is not selected automatically.
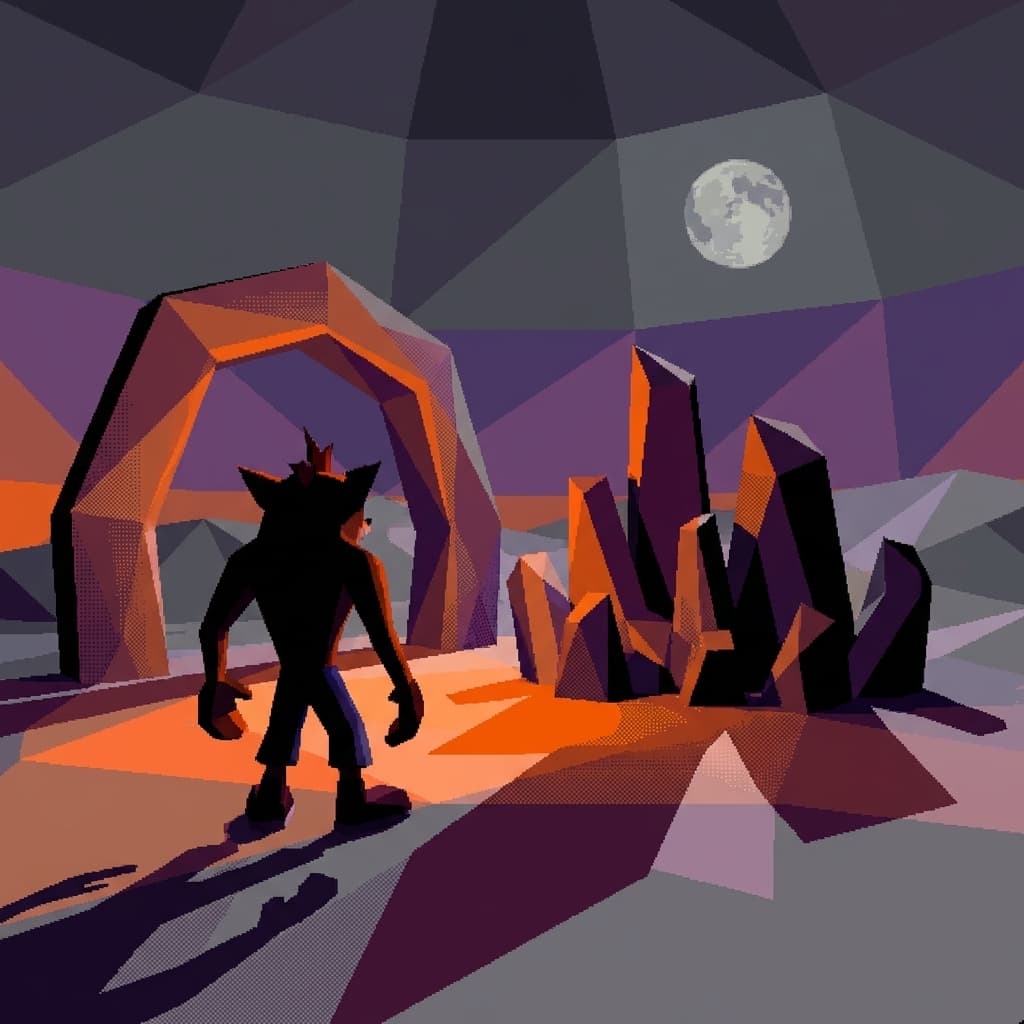
About the Low-Poly 3D style
Visual characteristics
Charming low-poly 3D art in 1994-2000 32-bit-console era visual style. Visible geometric facets with 200-500 polygon character models, affine texture mapping with characteristic warping. Vertex lighting creating sharp angular shadows, limited texture resolution 64×64 to 128×128 pixels with dithered gradients. Color palette: console gray, marsupial orange, dragon purple. That nostalgic 32-bit angular beauty of early 3D platformers and adventure pioneers.
Color palette
Colors specified in the preset recipe, not a guarantee for every generated frame.
- #808080
- #ff6600
- #9932cc
Adapt the preset recipe
Select and copy the recipe below as a starting point. In Storyboard, choose My styles, create a custom style and open Advanced mode. Adapt the wording to your scene and the editor's 1,000-character limit; a Studio preset is not imported automatically. Camera and film references describe the intended look, not equipment used to create the preview or guaranteed animation.
Transform the scene into charming low-poly 3D art in 1994-2000 32-bit-console era visual style. Visible geometric facets with 200-500 polygon character models, affine texture mapping with characteristic warping. Vertex lighting creating sharp angular shadows, limited texture resolution 64×64 to 128×128 pixels with dithered gradients. Color palette: console gray (#808080), marsupial orange (#FF6600), dragon purple (#9932CC). That nostalgic 32-bit angular beauty of early 3D platformers and adventure pioneers.
Plan shots in the Low-Poly 3D look
Step 1: Study the visual recipe
Compare the Low-Poly 3D still preview with the visual notes below. Choose which lighting, palette and framing cues belong in your shot list.
Step 2: Build your storyboard
Open a new Storyboard, add your script and character references, then choose its style separately. To adapt this recipe, paste it into a custom style in Advanced mode.
Step 3: Review before video
Review the generated frames for continuity. A still does not specify motion, pacing or audio; plan those as separate decisions for your video.
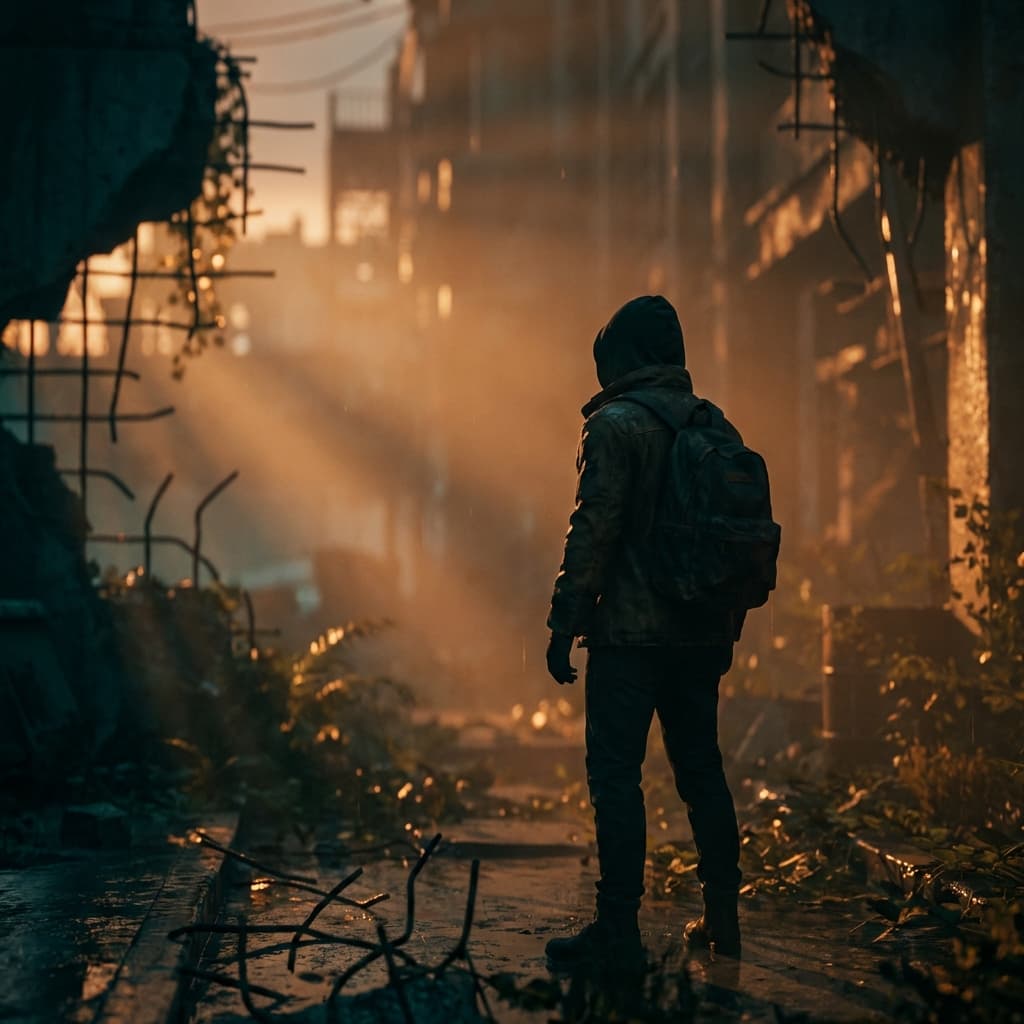
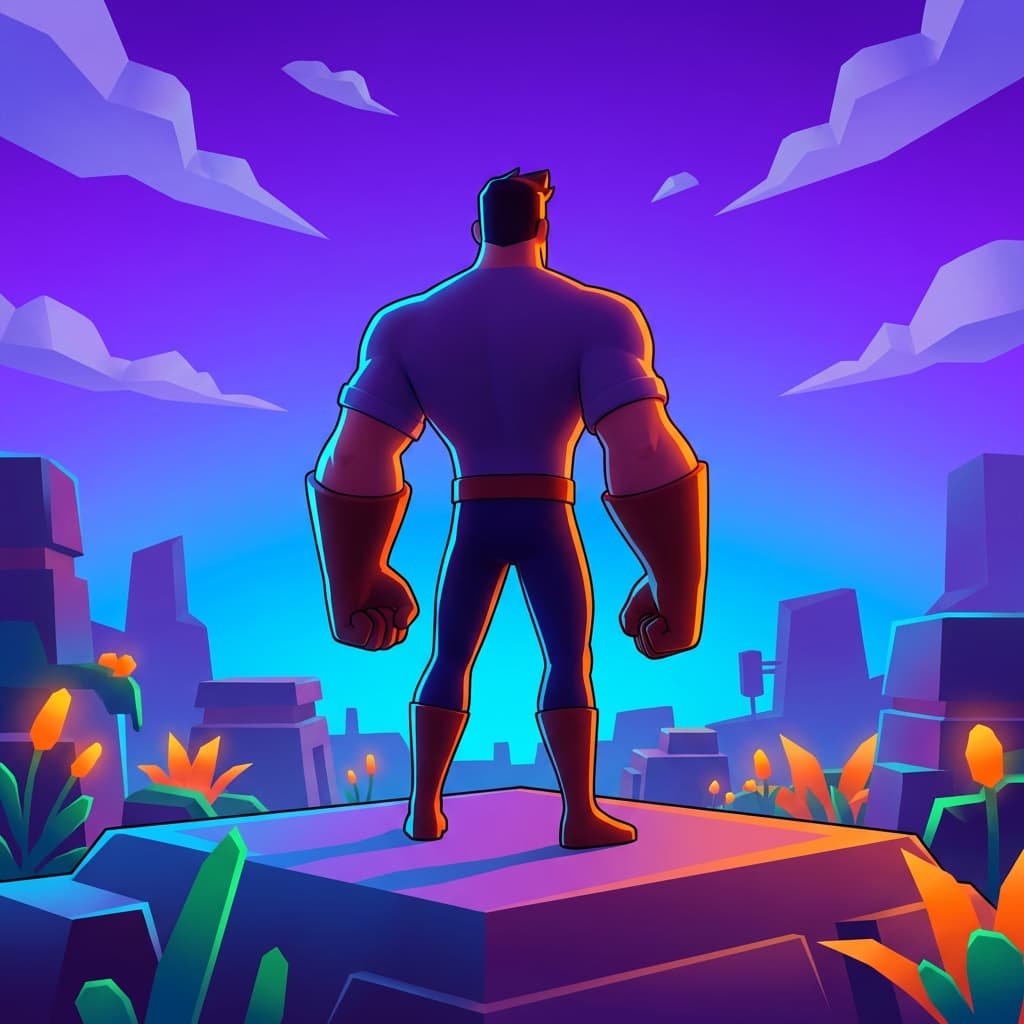
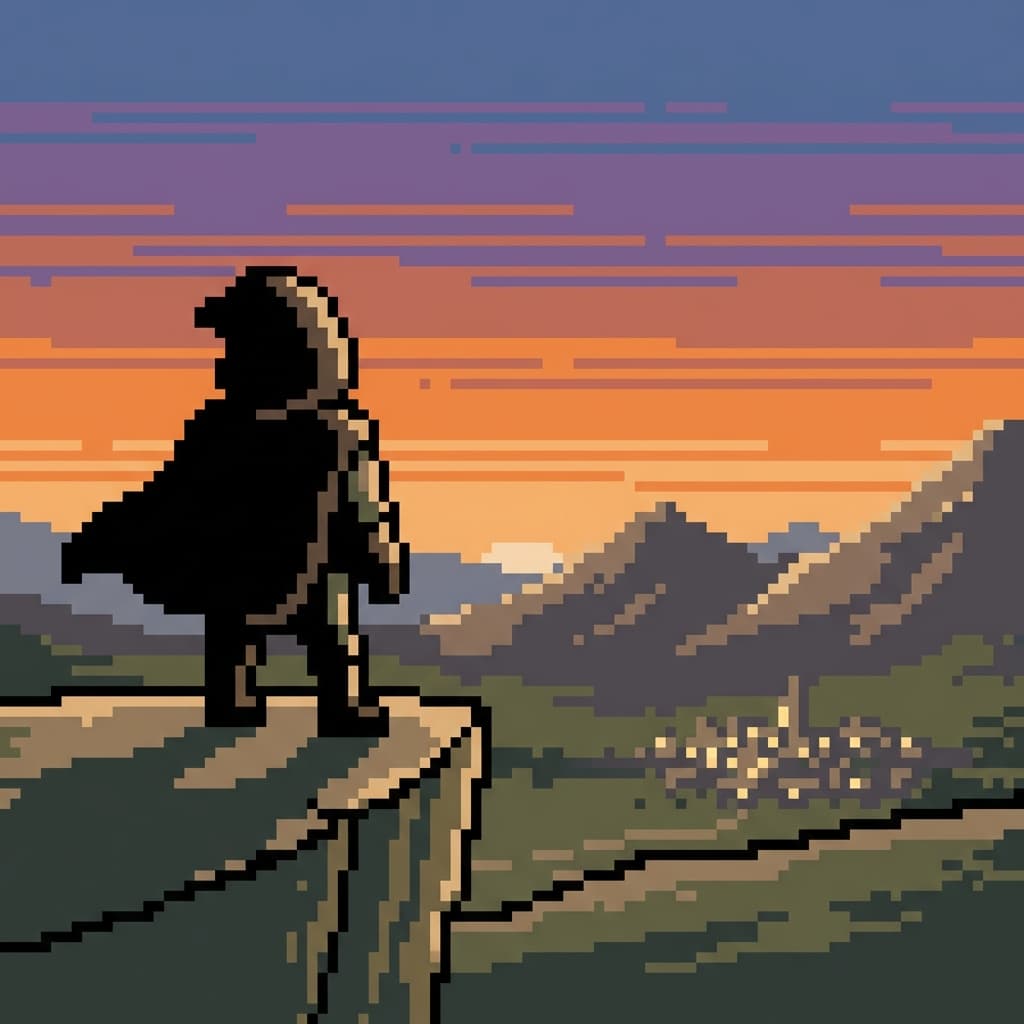
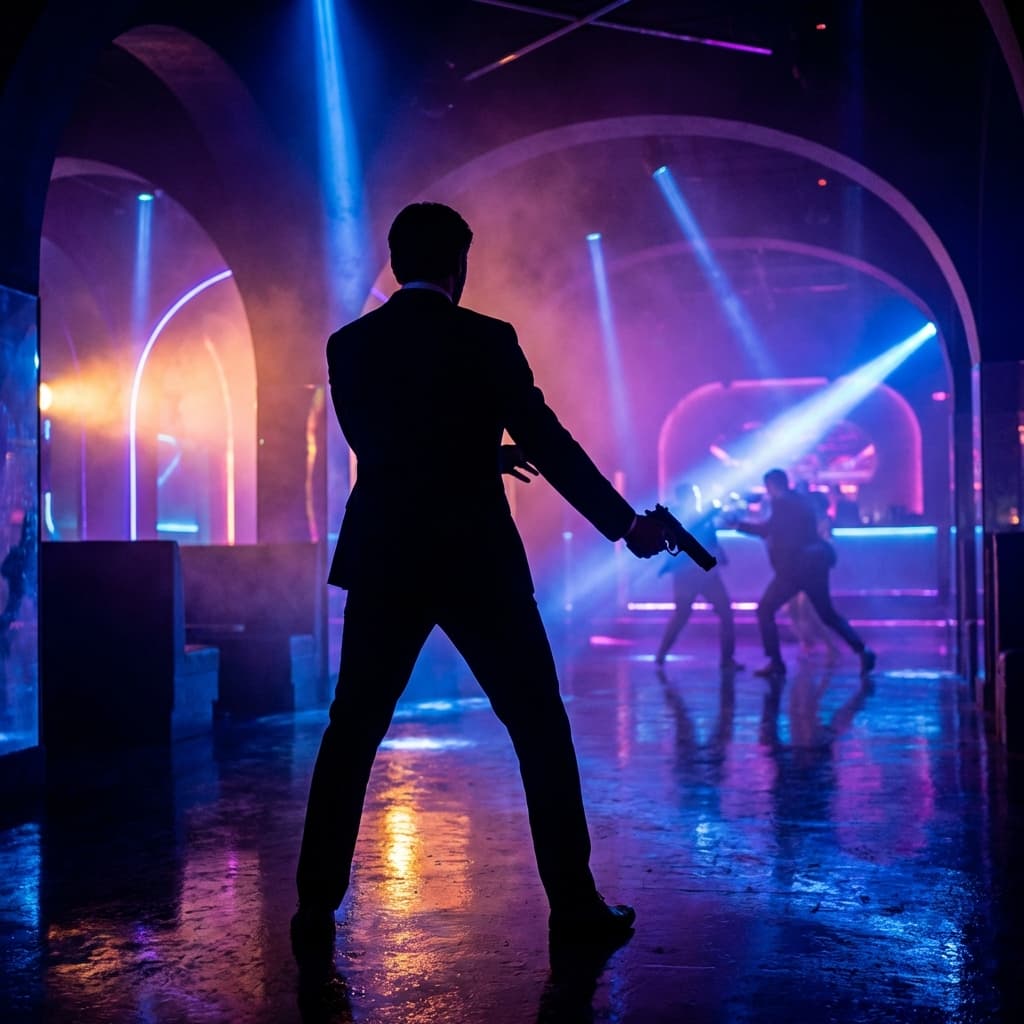
Plan Your Low-Poly 3D Storyboard
Use the Low-Poly 3D notes as a visual brief. Storyboard opens a new project; it does not automatically select this Studio preset.